
How do you remove VMware Player that won’t uninstall on a PC? Is there a quick way to uninstall VMware Player and properly remove its leftover files, folders, registry files and other junk? You are probably on this post because you can’t uninstall VMware Player from your PC. In the windows 10 control panel for app removal, you may find the “Modify” and “Uninstall” are greyed out when selecting Vmware and there is no “uninstall.exe” file in the VMware Player installation folder. This is a big issue for people who don’t want VMware Player on their computers. Are you looking for the right way to uninstall VMWare Player? In this post, we’ll show you the most comprehensive and effective removal steps to help you fully uninstall VMware Player and all traces of this program.
About VMware Player:
VMware Player, as known as VMware Workstation Player, is a perfect solution for students, faculty, businesses and corporate users who need a small sandbox environment for testing or control. This desktop virtualization application is now up to version 15.5 and it is available for free for personal use. However, commercial organizations require commercial licenses to use it. With VMware Workstation Player, you can create, run, evaluate, and share software running in a virtual machine on a Windows or Linux PC. That means, you are able to run a second, isolated operating system on a single PC. In this virtual machine, you can try a new operating system, deliberately execute malware, develop software for other platforms or create system-level snapshots that can be instantly restored on demand. VMWare Player includes features that enable users to create and configure their own virtual machines for optimal performance and access any devices connected to their PC. So you will find your experience with VMware Workstation silky smooth and very productive. VMWare Player has excellent support for hardware compatibility and it is the original, best, and virtualization solution used by employees, training organizations, students, contractors and many other people.
VMware Player Removal:
VMware Player might bring you a lot of benefits, but there are chances you may want to uninstall this program. For example, your PC doesn’t meet the minimum PC requirements to use VMware Workstation Player so your computer will be extremely slow when VMware Player is running in the background. Or you may want to upgrade your VMware Workstation version to a higher version so you must uninstall the older version first. Some users uninstall VMware Player because of unexpected errors like “VMware Player cannot connect to the virtual machine. Make sure you have rights to run the program and to access all directories it uses and rights to access all directories for temporary files” happens while powering on VMware Player. They need uninstall and reinstall VMware Player for troubleshooting. Whatever the reason is, it turns out VMware Player removal is a difficult task. If you go to Windows 10’s Apps & features or control panel to uninstall, you will find the Uninstall button is grayed out and unclickable. This can be a problem. So today, we’re going to show you how to effectively remove VMware Player from your Windows 10 PC when it won’t let you uninstall.

The Most Common Ways That You Uninstall VMware Player in Windows 10:
Method 1: Removal from Start Menu
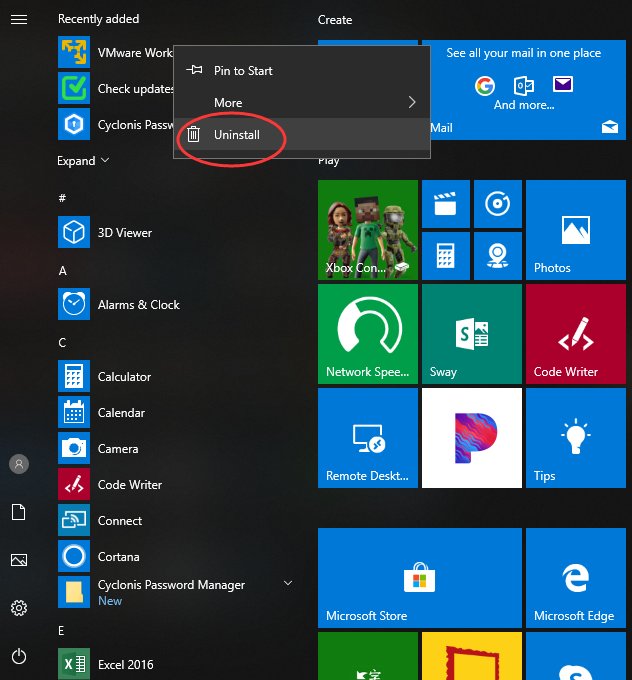
You can uninstall VMware Player directly from the Start menu. To do this, go to Start > All apps and find the VMware Player. Right-click on it and then click Uninstall from the drop-down menu that appears. If you can’t find VMware Player in the Start menu, or it won’t let you uninstall, you can try other methods listed below.
Method 2: Removal from The Settings Menu
In some cases, you cannot find an app or program that you want to uninstall in the Start menu. So, you can try this way to remove it from the Settings Menu.
Here’s what you need to do:
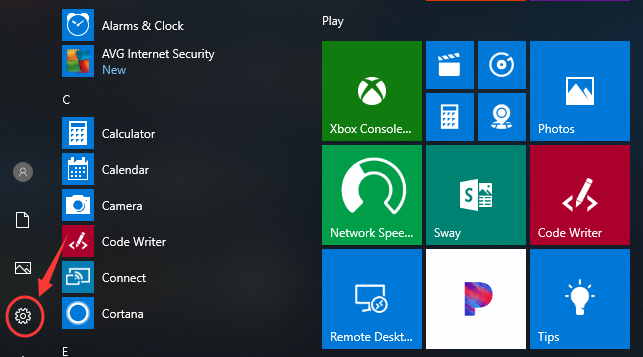
1. Go to Start->Settings.
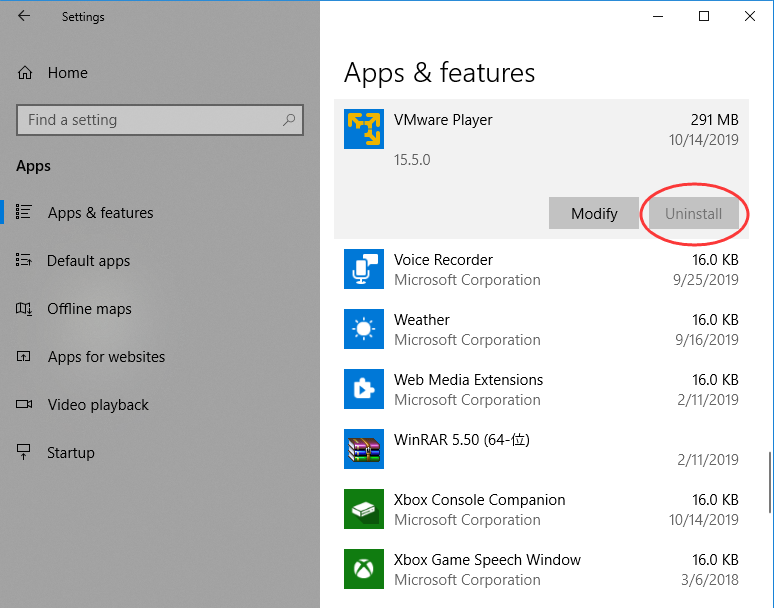
2. Choose System and then click Apps & features. Here, you’ll see a full list of applications and programs on your computer, sorted by size. You can use the search box at the top of the screen to search for apps, and you can resort the list by name or by install date.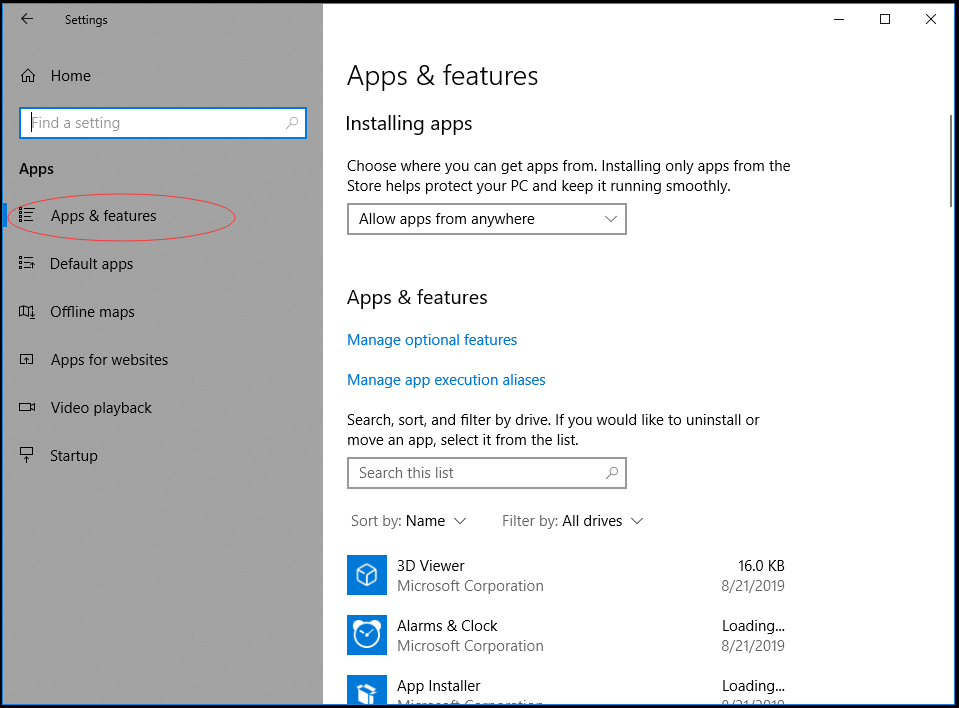
3. Select VMware Player and Click Uninstall to start the removal process. If things go well, you will see a pop-up window informing you that the app and its related info will be uninstalled, then you just need to hit Uninstall to confirm the removal. However, in some cases (like the image shows below), VMware Player won’t let you uninstall and you will see the Uninstall option is grayed out. Don’t worry. Keep reading and find out the proper way to remove VMware Player completely.
Method 3: Removal through the Add/Remove Programs Control Panel
If the above methods are not working, you can try uninstalling VMware Player from Control Panel first. Control Panel option is still available in the latest edition of Windows 10. Please note that you can only uninstall the desktop programs from here, but not apps. Do the following:
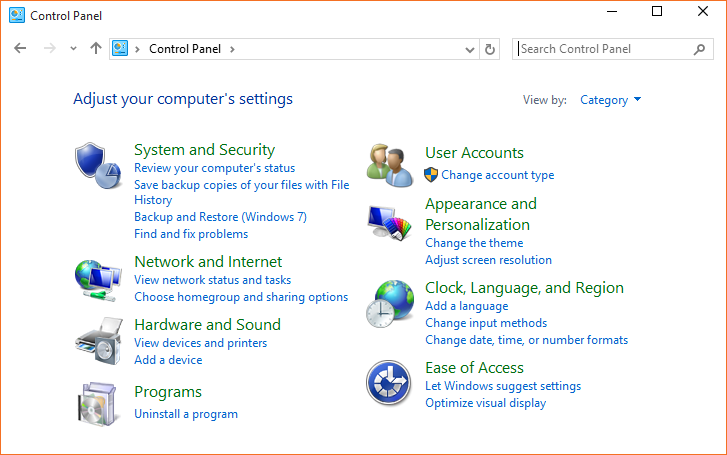
1. Right-click on the Start button (Windows logo button at the bottom-left corner of the desktop) and then click Control Panel to open it.
2. Go to Programs and Features (or go to Uninstall a Program if your Control Panel is in the category view).
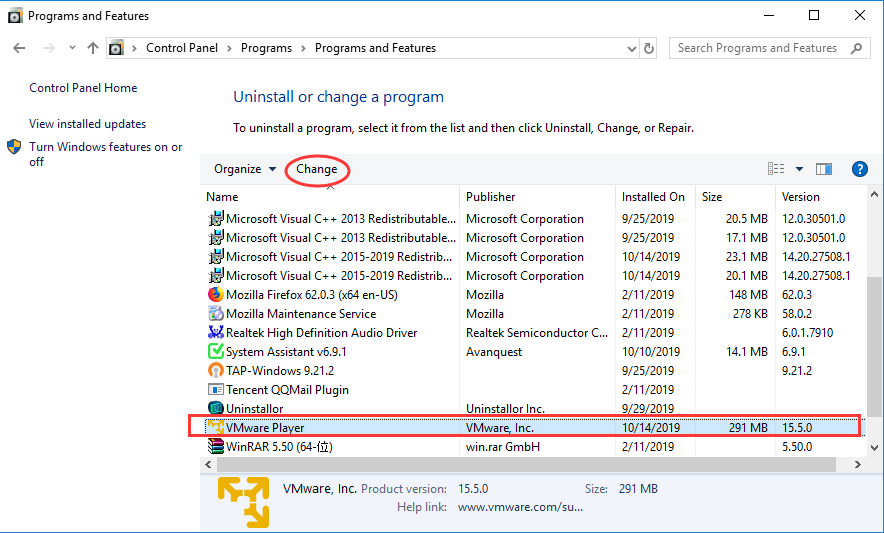
3. Right-click VMware Player and select Uninstall.
In general, you’ll see a pop-up window asking if you’re sure you want to uninstall this program, click Yes and click through the uninstall wizard, if applicable. After it is done, it will prompt the users to Reboot their computer to take effect.
But, in some cases, Windows may refuse you to uninstall VMware Player from control panel because it’s a stubborn program. You may find VMware Player is not listed in the Programs and Features window or there is no “Uninstall” option to let you perform the task. In that case, you can try to remove VMware Player manually instead.
How to uninstall VMware Player manually?
When VMware Player fails to get uninstalled, you can manually remove the program and all its leftovers like registry keys, folders, files and shortcuts. Here is our detailed guide on how to manually remove VMware Player and all its traces:
1. Open the Start menu, type %programfiles% and %appdata% into the search bar – strictly one at a time – and hit enter.
This will open system folders where you can find the related folders for VMware Player. Delete the ones with the name of VMware Player from both system folders.
2. Next, you have to delete VMware Player entries from Windows registry:
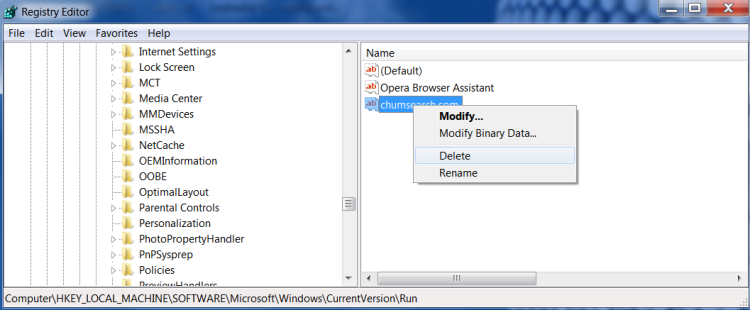
Press Windows + R, and type in regedit in RUN box, then press Enter. It’ll open Registry Editor.
Locate the following keys:
- HKEY_CURRENT_USER\Software\Microsoft\Windows\CurrentVersion\
- HKEY_LOCAL_MACHINE\SOFTWARE\Microsoft\Windows\CurrentVersion\
- HKEY_LOCAL_MACHINE\SOFTWARE\Wow6432Node\VMware, Inc.\Installer\VMware Workstation
- >HKEY_LOCAL_MACHINE\SOFTWARE\Classes\Applications\vmware.exe
If these branches have registry entries that are responsible for VMware Player, delete them. To do this, right-click on the desired file and click Delete.
Note:
Make sure to take a backup before deleting anything from Windows Registry so that you can restore it later if something goes wrong. If the above-mentioned methods didn’t help in uninstalling VMware Player, then it’s better to rely on a third-party uninstaller.
Uninstallor is one of the most excellent uninstallers that can recognize all the trash files left behind by a program after it is uninstalled and help you delete common leftovers like registration files, empty folders, dll files and task schedule etc with only 3 easy steps. It is very useful when the program you want to uninstall is not showing up in Control Panel or Settings in Windows 10, or you get errors while uninstalling. If you don’t fancy dealing with program leftovers, just let Uninstallor take care of everything for you.
The Most Recommended Method to Uninstall VMware Player in Windows 10
Method 4: Uninstall VMware Player Using A Removal Tool (Recommended)
Compared to the Windows built-in uninstaller, Uninstallor can do a better job of deleting an application completely. Here’s how it works:
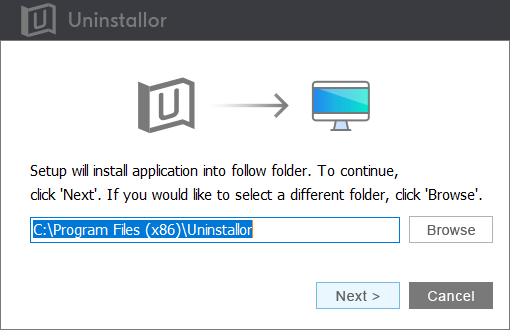
1. Download & Install Uninstallor on your machine. Uninstallor is quite lightweight and the installation is straightforward. The only option you have is to let you create a program shortcut to the desktop.
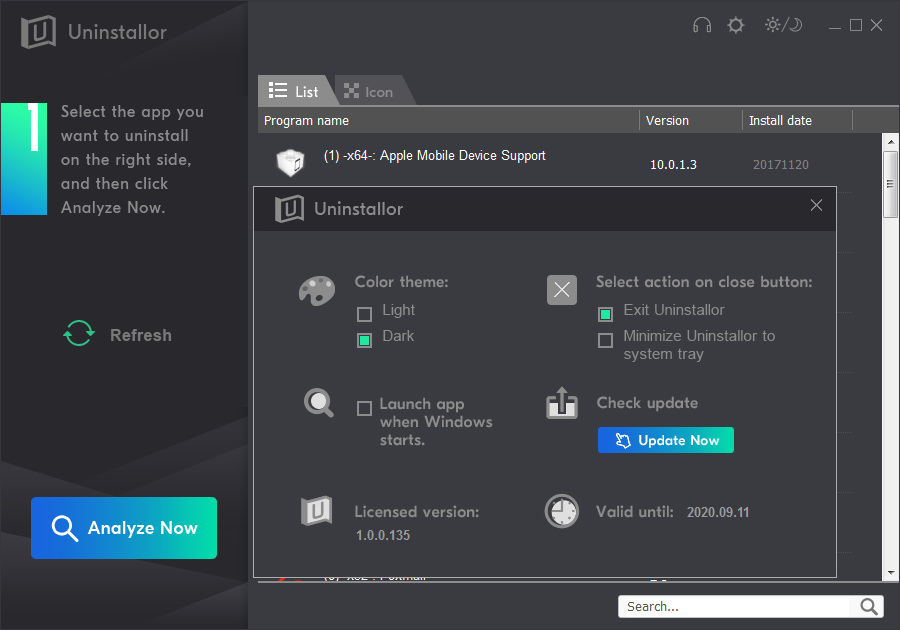
2. Launch Uninstallor. Uninstallor comes with an easy-to-use interface and it lets you switch to dark or light theme as you wish.
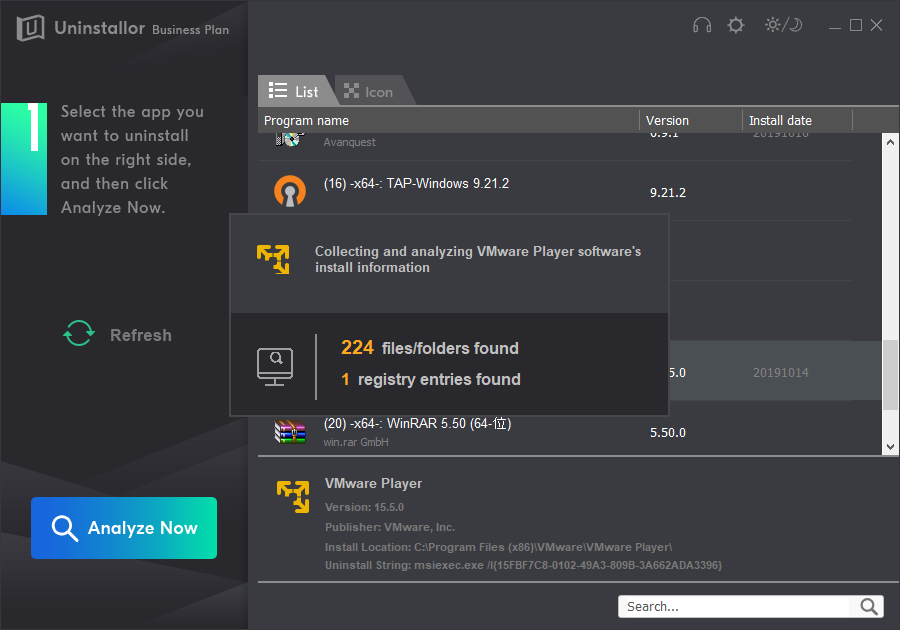
3. Scan for program components. Select the program that you want to uninstall and click on “Analyze Now” button. It will analyze all the data associated with the uninstalled program and searches for all leftover files.
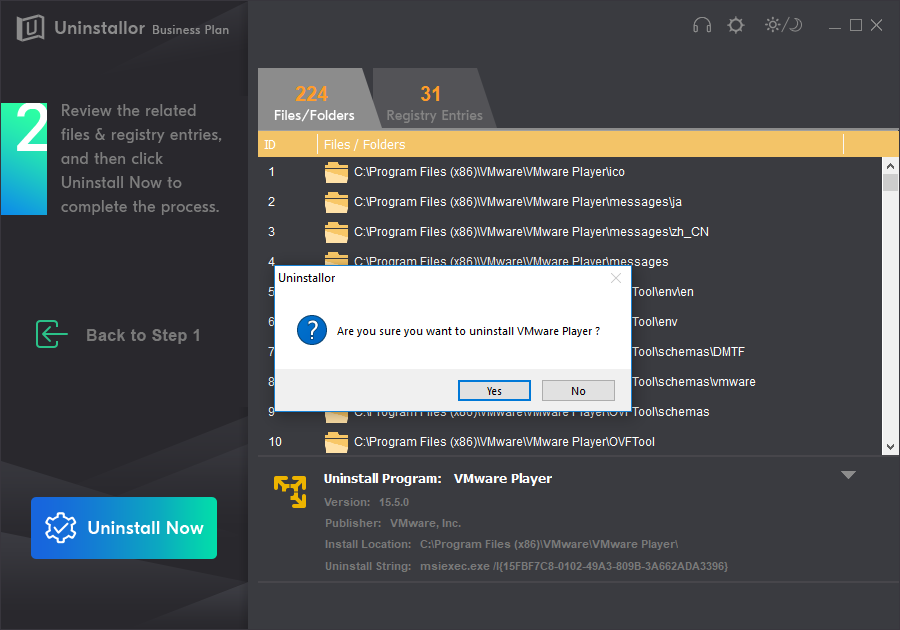
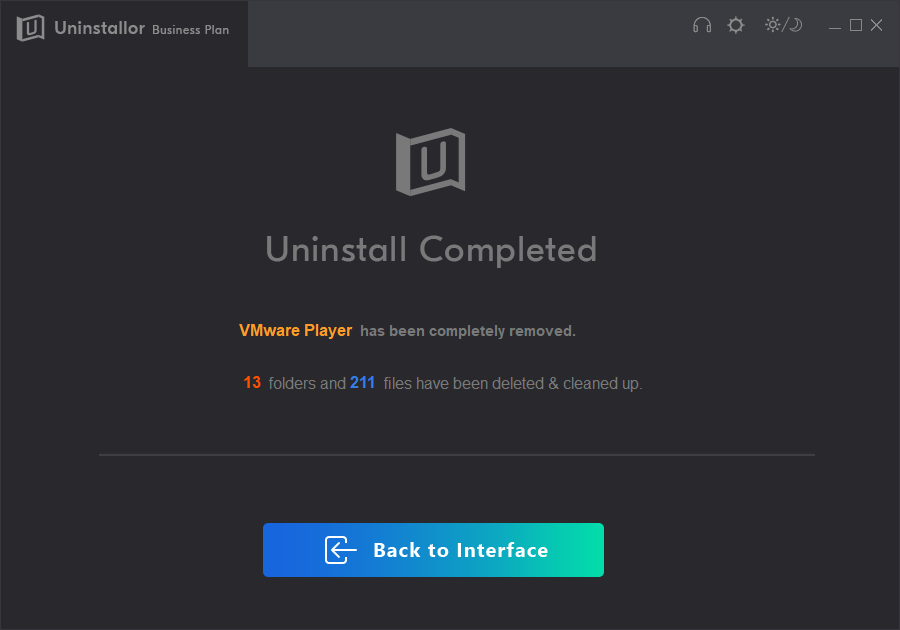
4. Perform complete removal. Click on “Uninstall Now” button to uninstall VMware Player completely. Next, you need to click on “Yes” to confirm the removal.
5. Wait until the uninstallation is completed. When the process is completed, restart your computer to take effect.
Conclusion:
Sometimes it just happens. You want to uninstall VMware Player from your computer, but Windows doesn’t let you do that, so have no choice to delete the Program files/vmware folder, VMware services and a bunch of files all over your system folder and registry manually. However, the manual removal process requires expertise. If you have never edited or cleaned your registries in the past, you’d better avoid doing it yourself because any mistake could kill your server, or any of its most important functions. You can use Uninstallor to complete the removal job instead. There are many third-party uninstallers to choose from, and Uninstallor is one of the best that can analyze all of a program’s connections and offer a complete removal of the program, its folders and files, and its registry entries. Uninstallor is a must-have program that ensures you leave nothing behind on your PC when they uninstall VMware Player. Now you will have mastered the approaches to get rid of VMware Player completely. If you still have difficulties in uninstalling VMware Player, you are welcome to contact our expert for instant help.
Published by Tony Shepherd & last updated on October 30, 2019 8:07 am


Leave a Reply
You must be logged in to post a comment.